

Arduino UNO Q Elf Detector Series - Part 0: Introduction
The holiday season is here, and like any good engineer, this means pre-gifting myself a project! My Arduino UNO Q has finally arrived, and I’m ready to put this dual-core powerhouse through its paces. Over the course of this series, I’ll be transforming it into a complete, intelligent Edge AI Device using FoundriesFactory™ and Edge Impulse.
At the end of this project we will have an intelligent edge application, but the real story here is the infrastructure. Specifically, how the fioup agent turns this Debian-based board into a properly managed, cloud-connected device.
Little Nightmares Before Christmas
Here’s the thing about my workshop in December: it is a challenging time of year for me. Tools wander off, SD cards vanish from their label bins. That specific cable I need? Gone!
There is only one reasonable explanation for this. I am beset by mischievous, but technologically inclined elves who are drawn to my simple yet robust embedded tutorials ‐ this is more festive than admitting I have an organizational problem!
To counter this VERY REAL threat, we will be building an AI-powered real-time Elf-Detection system with an Arduino UNO Q. This first session will cover the setting up of our FoundriesFactory and preparing the hardware for the more advanced sessions to come. But before we do that, let's explore the board we will be working with a bit more.
The Hardware Architecture
The Arduino UNO Q is a compelling piece of hardware because it successfully bridges high-level application processing with real-time control. It offers a dual-architecture environment, allowing us to showcase exactly what modern edge orchestration can do.
The board features a unique architecture that splits the workload:
- Qualcomm Dragonwing™ Application Processor: Runs a full Debian Linux environment. This is ideal for the containerized AI workloads we manage with FoundriesFactory, giving us a robust environment for logic and connectivity.
- STM32U5 Microcontroller: A dedicated MCU handling real-time tasks like audio sampling, IMU data, and GPIO manipulation.
- Inter-Processor Communication (IPC): A shared memory bridge that allows the two processors to exchange data seamlessly, avoiding the latency bottlenecks often found in multi-chip setups.
For our purposes in this project, that separation is critical. It allows us to run sophisticated AI models in Docker containers on the Linux side while maintaining a hard real-time responsiveness on the MCU.
Prerequisites
Hardware:
USB-C multiport adapter (dongle) with external power delivery
Host computer running Windows, macOS, or Linux
You can use any USB-C dongle with external power delivery capabilities, except for Apple ones.
Software:
The Cloud Setup
Before touching the hardware, we need a digital home for our device.
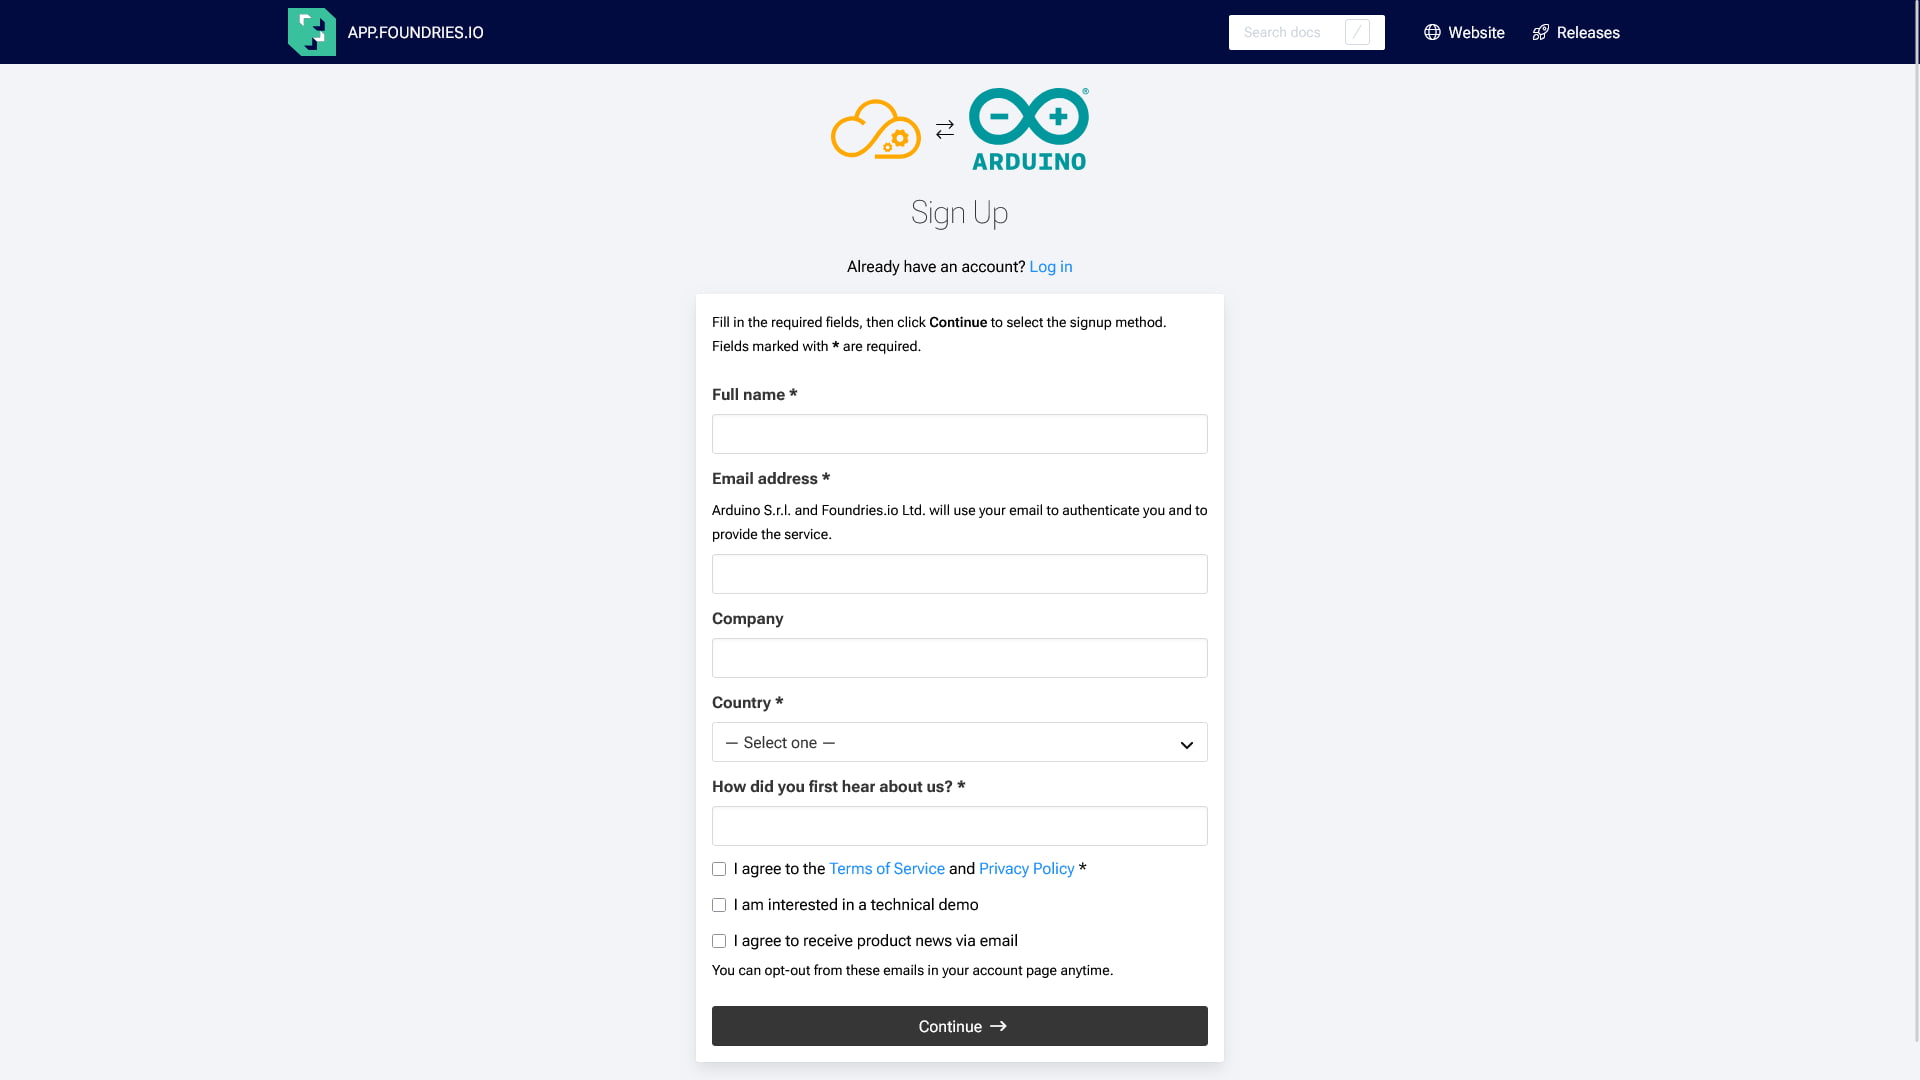
1. Sign Up
To begin using the FoundriesFactory Platform, start with creating an account with us.
2. Create Your Factory
Once the signup process is complete, you can proceed with creating a Factory.
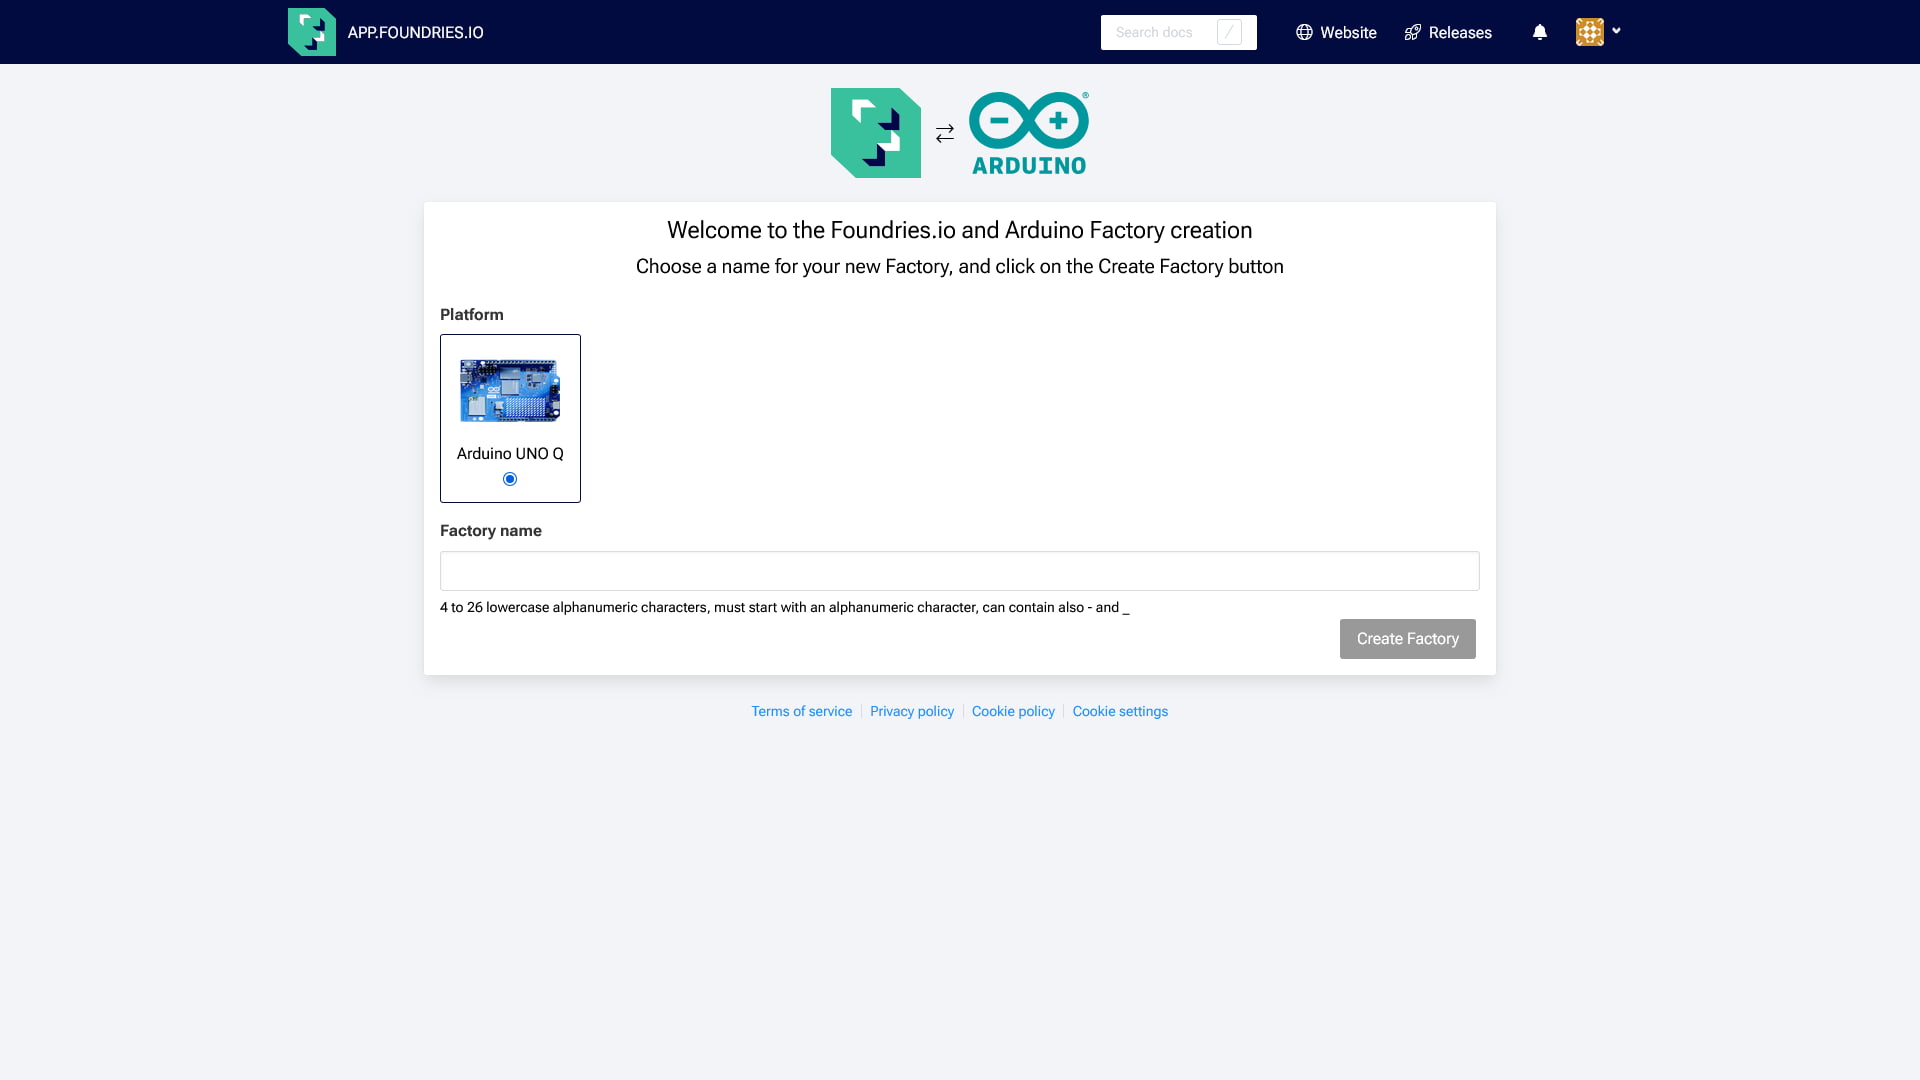
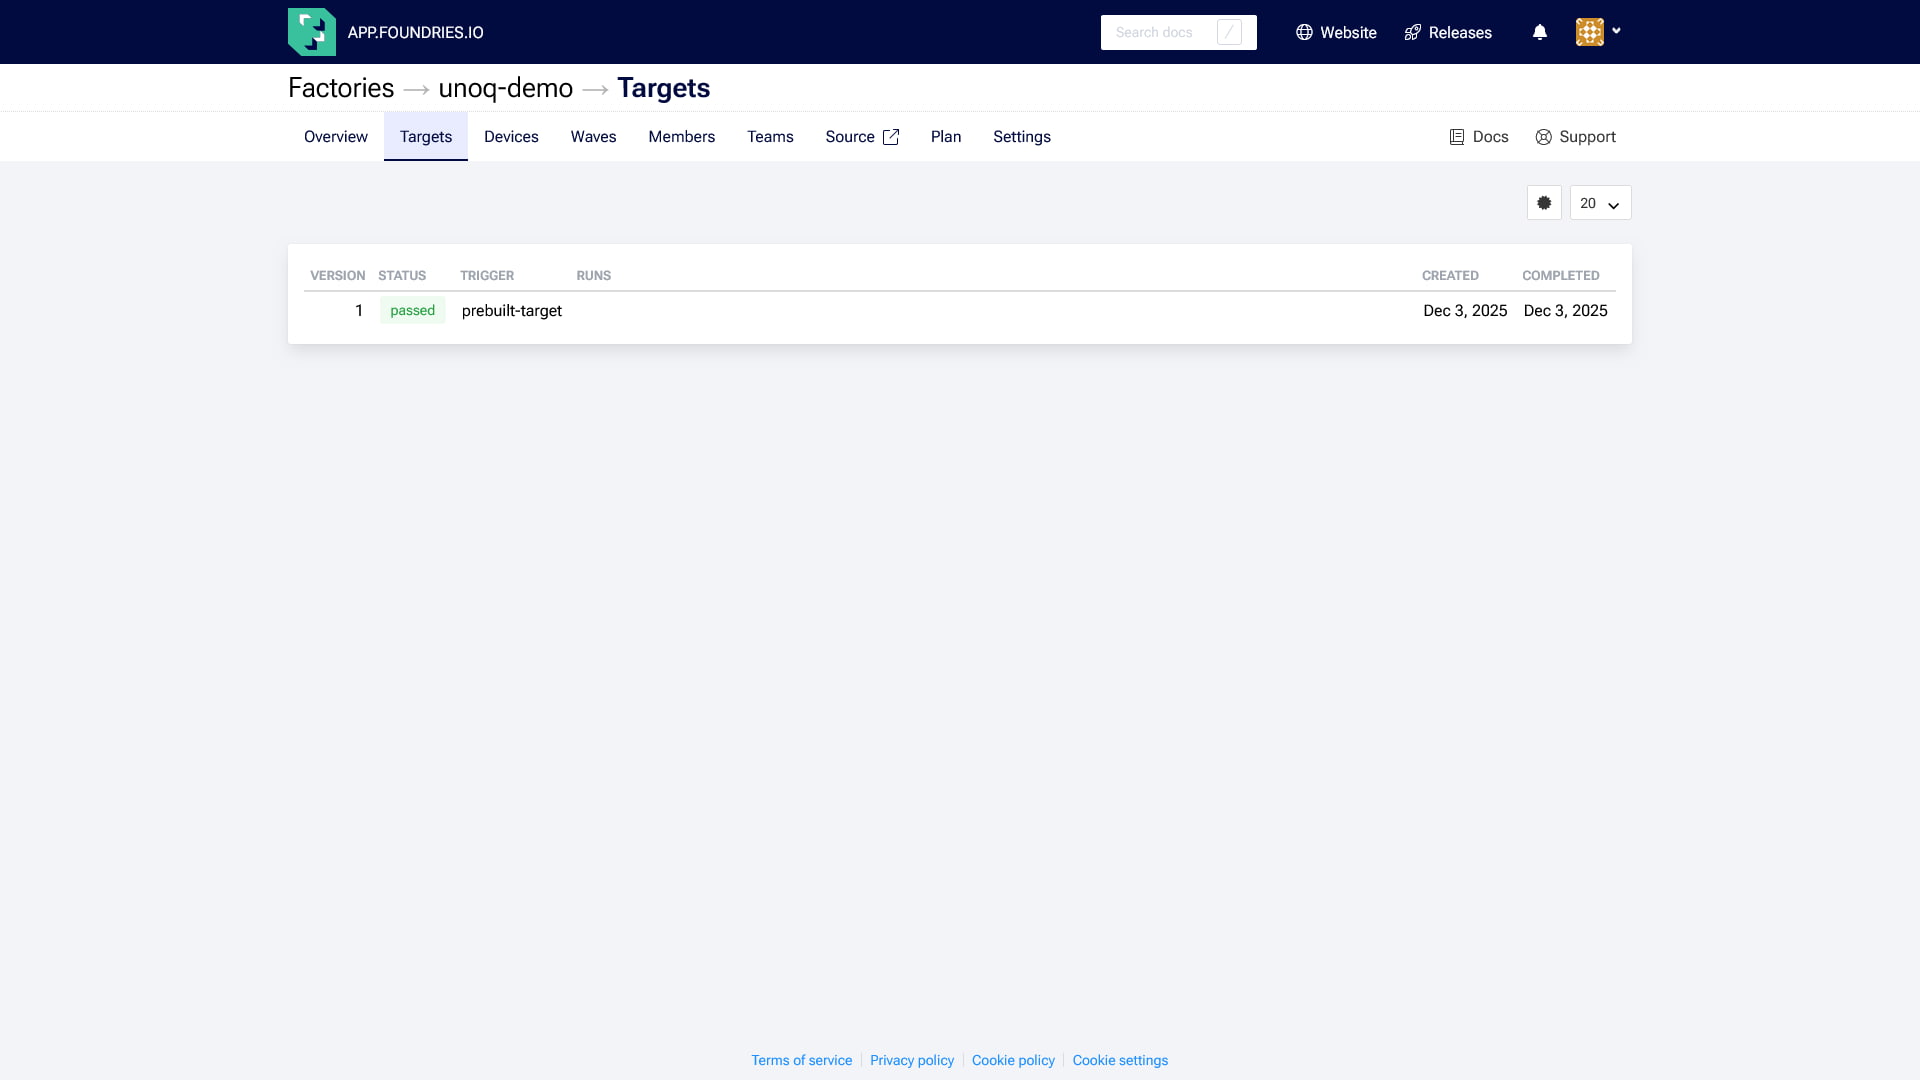
Once created, your Factory will show an initial "Target" - this is a reference to a specific version of the device software that is capable of receiving application updates.
Powering on your Arduino UNO Q
Now, let's get the board running. The Arduino documentation hosts a thorough guide, but below we have outlined a main steps of the initial setup:
- Connect: Plug the Arduino UNO Q into your host PC using the USB-C cable and multiport adapter to power the board.
- Launch App Lab: Open Arduino App Lab and wait for it to detect your device.
- Update (If needed): If App Lab prompts for an update, follow the instructions to use the Arduino Flasher CLI tool to flash the latest image.
- Wifi Setup: Use App Lab to configure your device’s name, password, and Wi-Fi credentials.
Connecting to FoundriesFactory
While Arduino App Lab handles initial provisioning (like Wi-Fi and device naming), we need to go deeper to link the board with our FoundriesFactory platform.
The Arduino UNO Q ships with a Debian base image and is supported by our Container-only Factory solution. This solution lets you experience a Factory without having to run the Linux microPlatform (LmP) on your device.
We are connecting to the shell now because we must install and run the FoundriesFactory agent, called fioup.
Why We Need fioup
The fioup agent is essential because it is the Over-the-Air (OTA) update client that performs container-only management on your device. Once installed and registered, fioup is the secure link that:
- Enables the Arduino UNO Q to pull new application containers from your Factory.
- Allows the FoundriesFactory platform to manage the device's lifecycle.
Connecting to the Board
There are multiple ways to connect to the device. Once you can access the terminal on your device, we recommend you install the openssh-server to establish a quick, reliable method to access again in the future.
Method 1: Single Board Computer
One of the standout features of the Arduino UNO Q is its ability to function as a standalone Single Board Computer. You can simply plug in a monitor and peripherals to get a full desktop experience immediately.
To do this, connect your Arduino UNO Q, mouse, keyboard and display to your USB-C multiport adapter.
NOTE: The Arduino UNO Q does not supply power to the USB-C multiport adapter*. The* multiport adapter must be powered externally, and, in turn, it will also provide power to the board.
Once the board powers on, you may log in and use the desktop environment.
Setup SSH and Network
Open the terminal on the device and run the following commands to install and start the SSH server:
device:~$ sudo apt update
device:~$ sudo apt install openssh-server
device:~$ sudo systemctl enable ssh
device:~$ sudo systemctl start ssh
Next, retrieve your IP address:
device:~$ ip a
Look for the inet address under your active network interface (usually starting with enx... or wlan...). It will look something like this:
inet 192.168.15.13/24 brd 192.168.15.255 scope global dynamic
Note the IP address to be used on your host computer to connect to the board via SSH.
Connect from your Host
Now back on your host computer, you can log in remotely:
host:~$ ssh arduino@<DEVICE-IP>
Now that this is setup you have an easy method to connect to the device’s terminal from your host PC.
Method 2: Headless Setup via ADB
If you do not have a monitor handy, you can use the Android Debug Bridge (ADB) to open a remote shell over the USB-C cable.
- Install ADB:
- Debian/Ubuntu:
sudo apt install android-tools-adb - Windows/macOS: Download the SDK Platform-Tools.
- Debian/Ubuntu:
- Verify Connection and Log In
Once installed, confirm that the Arduino UNO Q is connected to your computer over USB-C and run the following command:
host:~$ adb devices
If the device appears in the list, you can log in directly to the Debian shell:
host:~$ adb shell
You are now inside the device's Linux environment
Note: Once inside, it is a good idea to follow the steps above to install openssh-server for future easy network access.
Installing the Agent (fioup)
We can now download the fioup agent to the device so that it can manage our connection to the factory.
1. Add the Package Keys
Download the public signing key for the repositories:
device:~$ curl -L https://fioup.foundries.io/pkg/deb/dists/stable/Release.gpg | sudo gpg --dearmor -o /etc/apt/trusted.gpg.d/fioup-stable.gpg
2. Add the Repository
Add the stable fioup repository to your sources list:
device:~$ echo 'deb [signed-by=/etc/apt/trusted.gpg.d/fioup-stable.gpg] https://fioup.foundries.io/pkg/deb stable main' | sudo tee /etc/apt/sources.list.d/fioup.list
3. Install the Agent
Update your package list and install fioup along with the necessary transport packages:
device:~$ sudo apt update
device:~$ sudo apt install -y apt-transport-https ca-certificates curl gnupg fioup
Registering the Device
With the software installed, it's time to link the physical board to your Factory.
Run the Registration Command
Use the factory name you created in Step 1. Replace <FACTORY_NAME> and give your device a unique name :
device:~$ sudo fioup register --factory <FACTORY_NAME> --name <DEVICE_NAME>
What Just Happened?
The registration command automatically:
- Created a secure mTLS signing request for the platform.
- Created a device entry in your FoundriesFactory dashboard.
- Configured the Docker credential helper, allowing the device to pull private containers from your Factory.
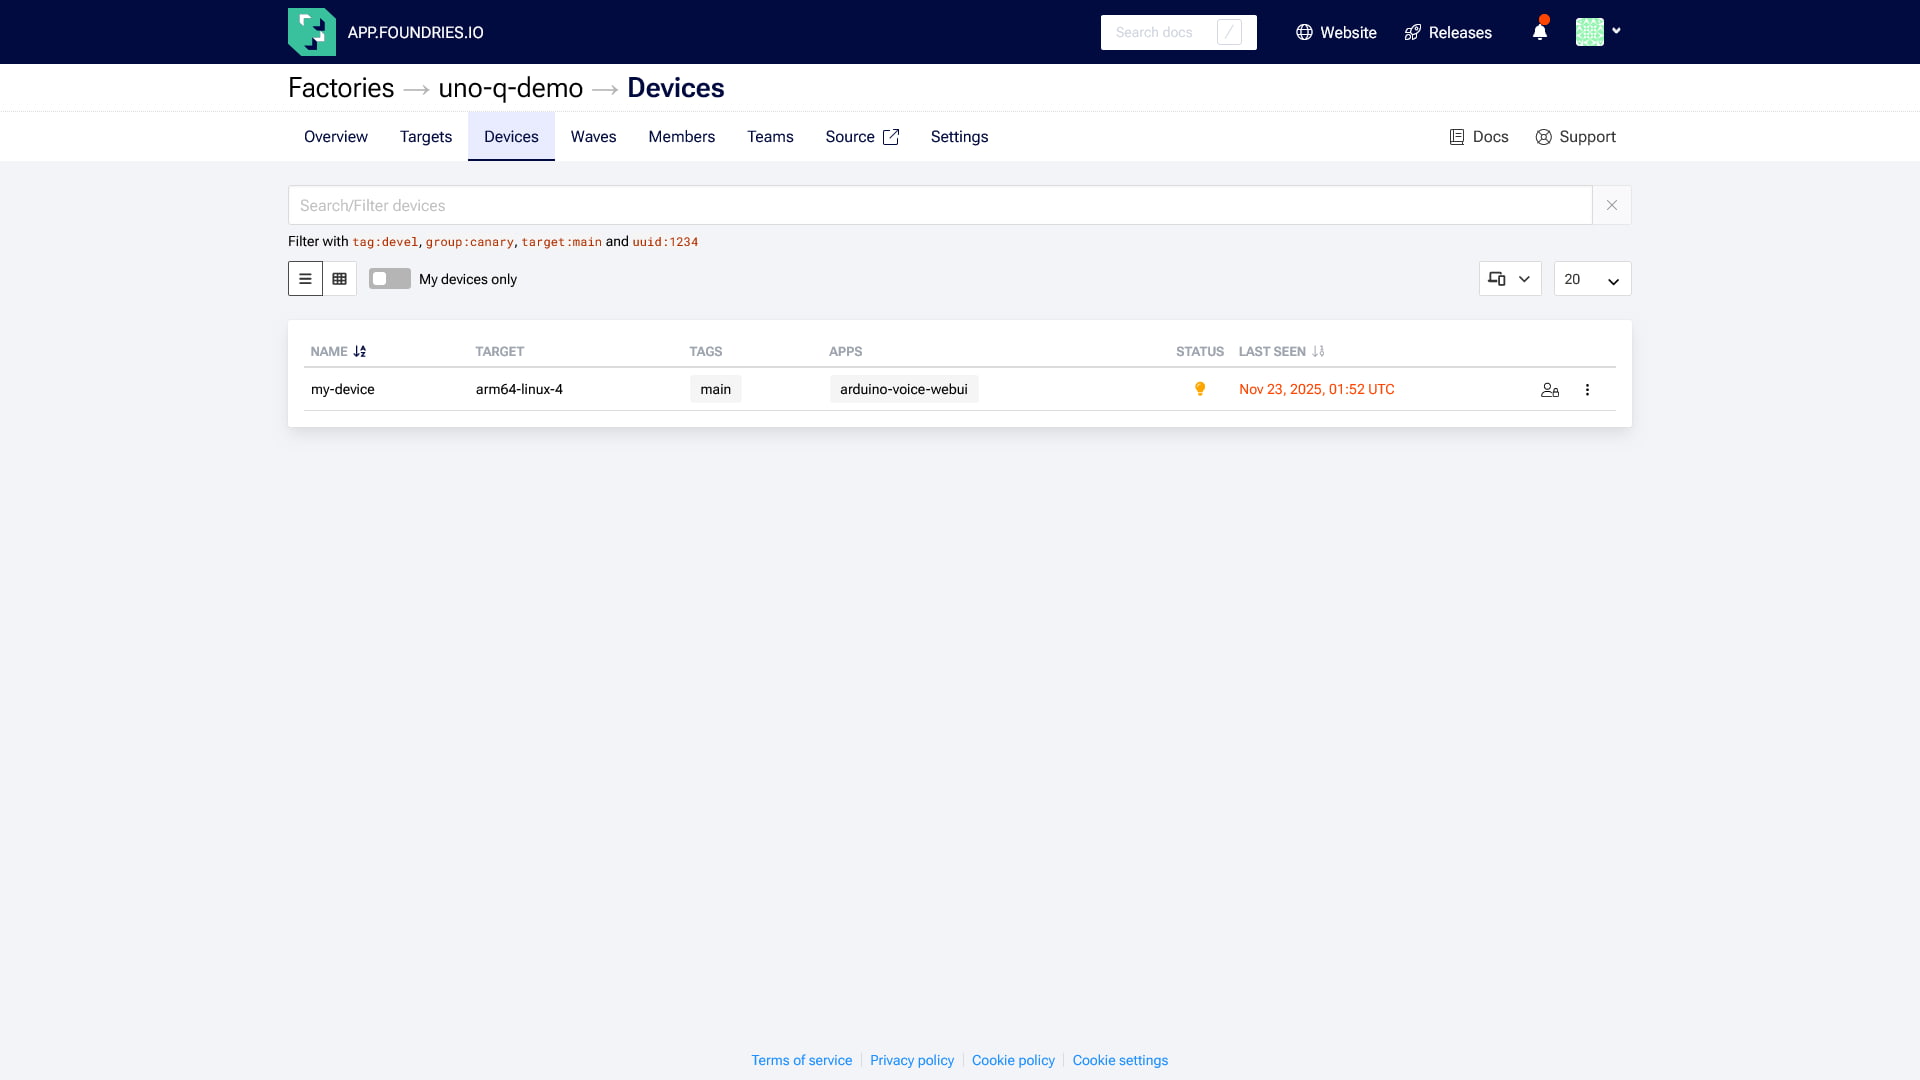
You can now verify the connection by checking the Devices tab in your FoundriesFactory dashboard. Your Arduino UNO Q should appear as "Online."
Conclusion
We have successfully unboxed the Arduino UNO Q, navigated the "Little Nightmares" of my disorganized workshop, and established a secure, encrypted link to the FoundriesFactory cloud. By installing the fioup agent, we’ve turned a standard piece of hardware into a managed fleet device that is ready to receive Over-the-Air (OTA) updates.
Resources
For a deeper dive into the hardware and platform used in this series, explore the official documentation to gain a better understanding of the tools:
- Arduino UNO Q Documentation: Official hardware documentation and setup guides.
- FoundriesFactory for Arduino UNO Q: Specific guide for connecting your board to the platform.
- Fioup Agent: Documentation for the FoundriesFactory device agent.
Full Series Overview
Part zero: Introduction
This page.
Start your journey here by unboxing the Arduino UNO Q and securing it against prying eyes. We cover exactly how to install the fioup agent, establish a secure connection to the FoundriesFactory platform cloud services, and prepare your hardware for the advanced surveillance missions to come.
Part one: Blinking an LED
Your first practical assignment is to deploy a containerized application to the edge. You will learn how to leverage the UNO Q's dual-core architecture, using the Arduino Bridge to let a Linux-based Python web server control real-time hardware LEDs.
Part two: LED Matrix
Ready for something flashier? This guide tackles the complexity of managing a 13x8 LED matrix. We will demonstrate the FoundriesFactory platform Web UI to instantly update and configure your device fleet over-the-air.
Part three: Voice-Controlled Christmas Tree
Next, we give your hardware a brain. This entry explores implementing offline Edge AI using the Edge Impulse Linux SDK. You will enable your device to process voice commands locally on the Qualcomm Dragonwing™ MPU without ever sending audio to the cloud.
Part four: Time Object Detection with YOLOv5
Then, we escalate to computer vision capabilities. We walk you through deploying an optimized YOLOv5 model to detect objects (and elves!) in real-time, achieving high-performance inference directly on your embedded device.
Part five: Integrated Holiday Monitoring System with MQTT
The grand finale brings it all together. Here, you will build a complete integrated holiday monitoring system that combines all the technologies we've learned: voice control, LED matrix displays, object detection, and MQTT messaging. Creating a unified, event-driven security system that reacts instantly to “threats”.